Gap Match Interaction
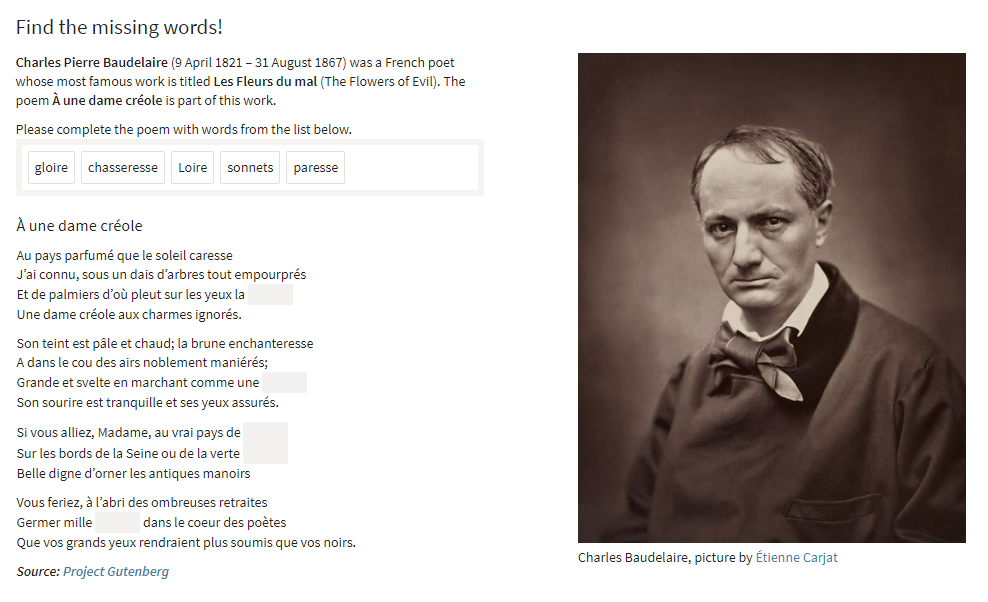
The Gap Match Interaction gives Test-takers the opportunity to demonstrate their knowledge in a manner similar to Match Interactions. A Gap Match, however, provides a set of match words, some of which will fit into gaps within a selected text passage. In essence, this is a combination of a match interaction and a “fill the gap” question.

Once you have generated a new Item, and clicked on Authoring in the Action Bar, follow the steps below to create a new gap match interaction:
1. From the Common Interactions Library on the left, drag the Gap Match icon onto the blank Item and drop it onto the Canvas.
This opens a new Gap Match Interaction window. There is a question field at the top, a middle field for the words which are to be matched, and a lower field for the gapped text, which contains a sample text.
2. Fill in the question field, where it says define prompt.
Typically this will be some variation of “Fill in the gaps from the following word set.”
Note: See the chapter Word Processing Options for details on text editing options such as using italics or bold text in your item, and inserting features such as shared stimuli or media, tables or formulae.
3. Insert the text which will contain the gaps into the text field at the bottom.
The Gap Match elements will be extracted from this text.
4. Select the words or phrases you want to make into Gap Match elements within the text.
Click on the word or phrase in the text to highlight it. This will create a magic wand button.
Click on the magic wand to confirm your selected location for a Gap Match element. This creates a gap in the text, and places the word/phrase into the match words field.
Repeat as many times as is needed to adequately assess the test-taker’s knowledge of the passage.
Note: Drag-and-drop is enabled for this type of interaction.
5. If desired, add extra options into the match words field by clicking the add choice button.
Placing additional words into the match word field may prevent test-takers from successfully using “process of elimination” as a strategy.
Note: The choice #1 option will not automatically bee filled and can be used as an extra option or should be deleted y clicking the trash can icon.
6. Complete optional configuration of the interaction if required.
7. Click Response on the right of blue interaction header to define the correct answer(s).
To define the correct answers, drag and drop the correct match words from the match word field onto the corresponding gaps in your text.
8. Complete optional configuration of response if required.
You can choose to configure the interaction response in the following ways:
- give partial credit for partially correct answers
- insert modal feedback
These options are available in the Response Properties Panel on the right. See the section Configuring Interactions for details.
9. Click the blue Done button. Your gap match interaction is now complete.
After this step, you can preview and test-run your interaction by following the instructions given in Steps 5 and 6 in Creating a Test Item.
