Adding Assets (or Media) to an item
Items and interaction can contain Assets (media), e.g. images, videos, sound files or passages (previously called shared stimuli). These can be files which are stored in the , or files from your desktop.
Note: In some versions this is called the Media Manager, or the Resource Manager (and the files are called ‘Media’ rather than ‘Assets’), but they all function in the same way. The names are used interchangeably.
When you use a resource from the Asset library in an item it isn’t integrated in your item, but instead is only referenced by it. This means that if the resource is updated, your item will automatically be modified to include the updated version of the resource. See the chapter of the User Guide for further details.
There are two ways of adding an asset, or resource, to your item. One is to use a Media interaction. Please refer to the chapter on Media Interactions for instructions on how to do this. The second is to add the asset using a Text Block. The steps below describe how to add an asset from your Asset library to a typical text block in your item.
1. When authoring your new , drag a text block onto the canvas from the Inline Interactions menu on the left.
A toolbar appears in the gray bar above the item containing a series of icons.
2. Click on the relevant icon to include a file from the Asset Manager in your item.
Using the image icon  or the media (video, audio) icon
  will show you the resources available of that type in the Asset library. Clicking on the floppy disc icon will show you the passages (or shared stimuli) available.
Clicking on any of these icons will take you to the Asset Manager, shown in the image below. As with the main window, the left panel is a Library: the Asset Library. The middle panel shows the list of assets which are available within the highlighted (i.e. folder) in the Asset library. The right panel provides a preview of the asset you select. Browse the assets available and choose one to include in your item.
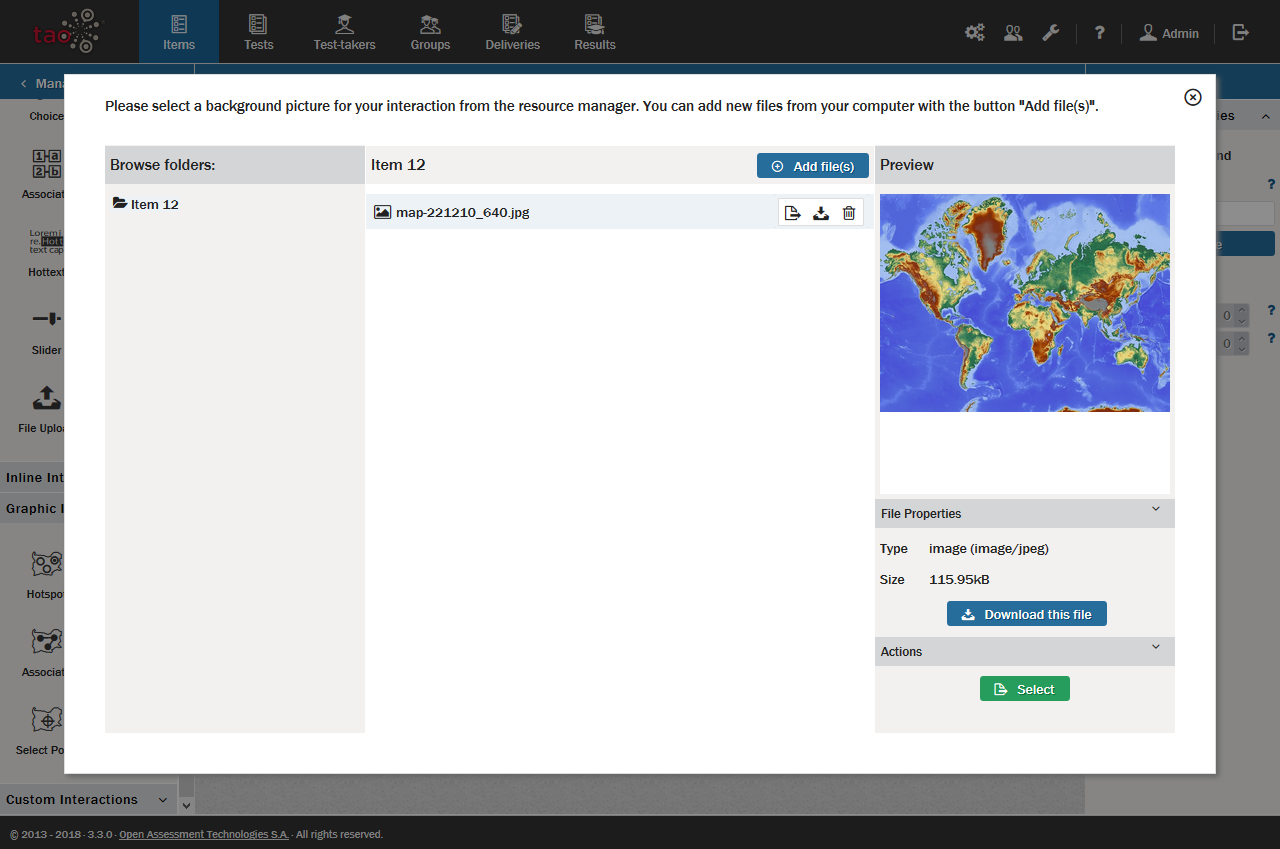
3. Click the green Select button.
This uploads the asset you have chosen into the text block. If you begin typing without hitting return, the text will center vertically. If your text extends beyond the first line, however, it will wrap underneath the image (or other media). If the image is followed by a longer text, it is best to click on return on your keyboard at least once before starting to type.
Note: To include a media file from your desktop in your item, select the relevant icon in the toolbar (the landscape for an image, or the music tape for an audio or video file), and click on Add file(s), then the blue Browse button to browse your computer. Most image and audio formats are supported. When you save your item, the media file becomes an integral part of the item, and is not in the Asset library. To upload a new file to the Asset library, see the chapter on the for further details, or to create a new ‘Passage’ to add to the Asset library, see the chapter on the .